GE Opal Icemaker Problems: Every Fix That Actually Comes Up
I love my Opal, and I love the ice it produces. But the machines can break, and they break in remarkably consistent ways. Almost everything that goes wrong clusters around six things: water flow, scale, the pump, blocked airflow, sensor problems, and the auger drivetrain. This guide covers each cluster, then gives you one escalation ladder to work through in order.
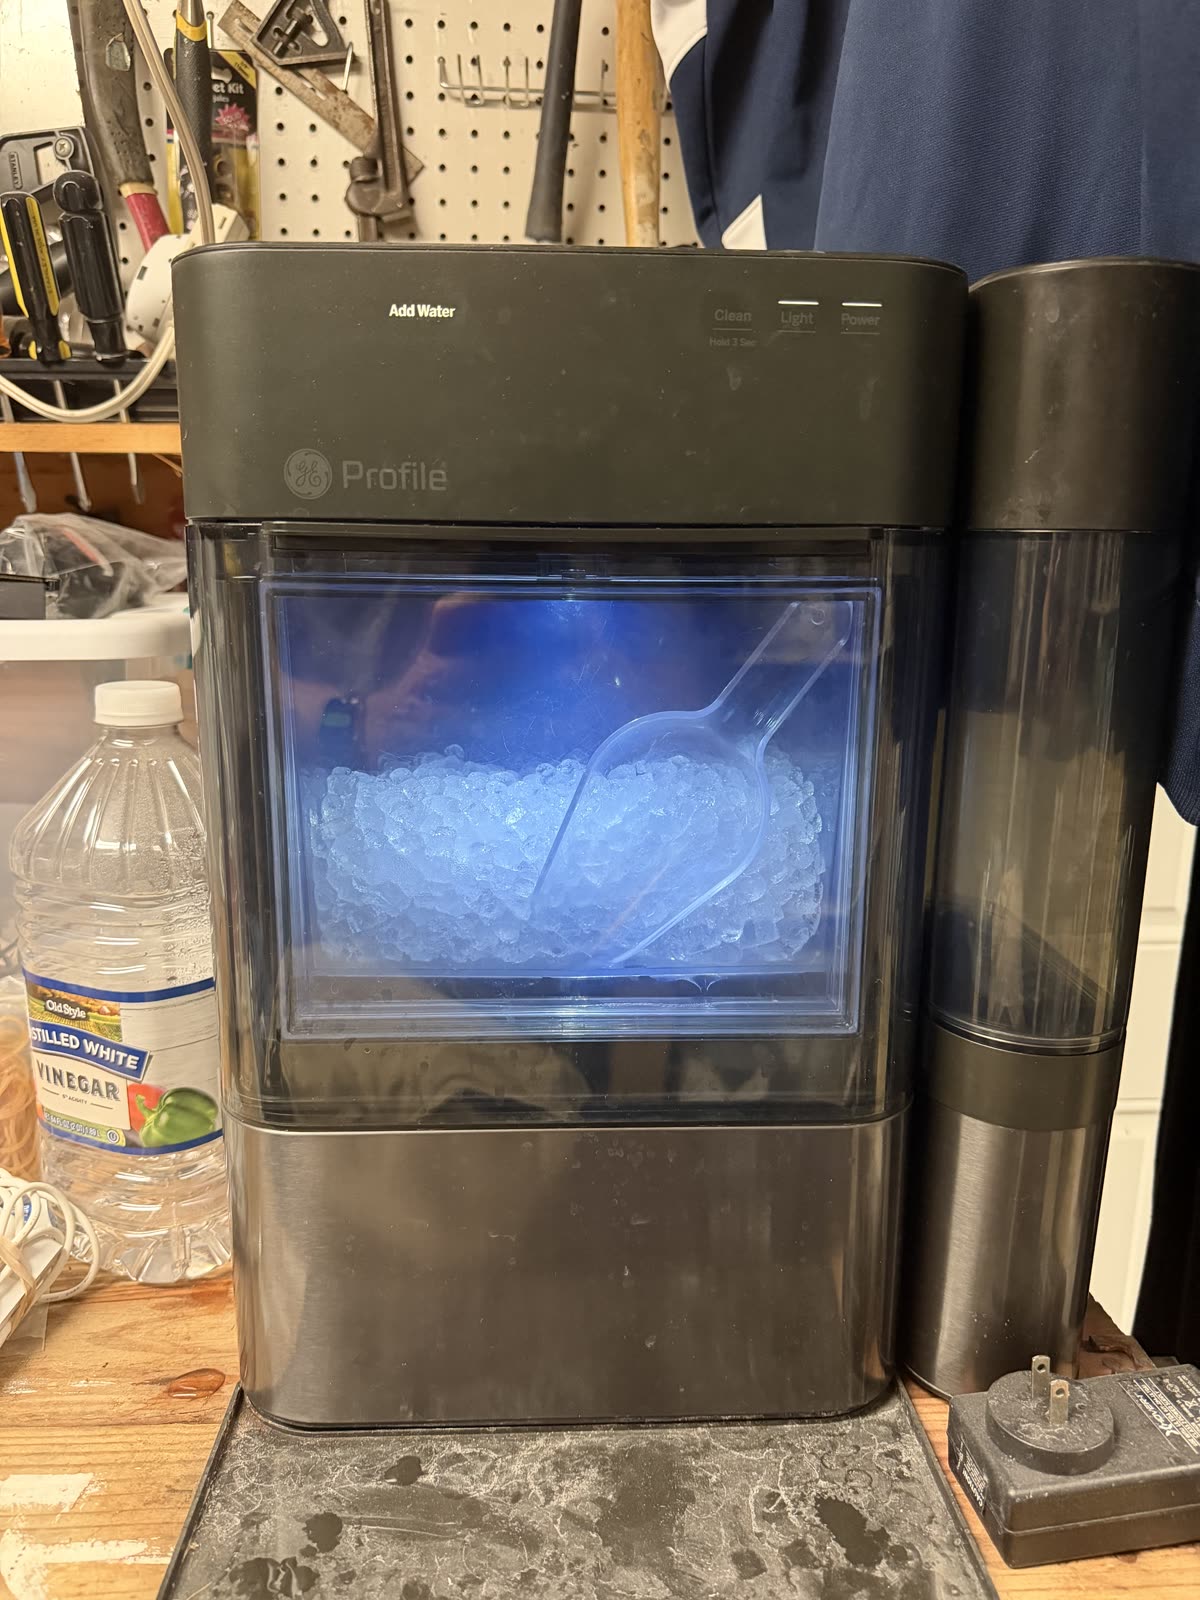

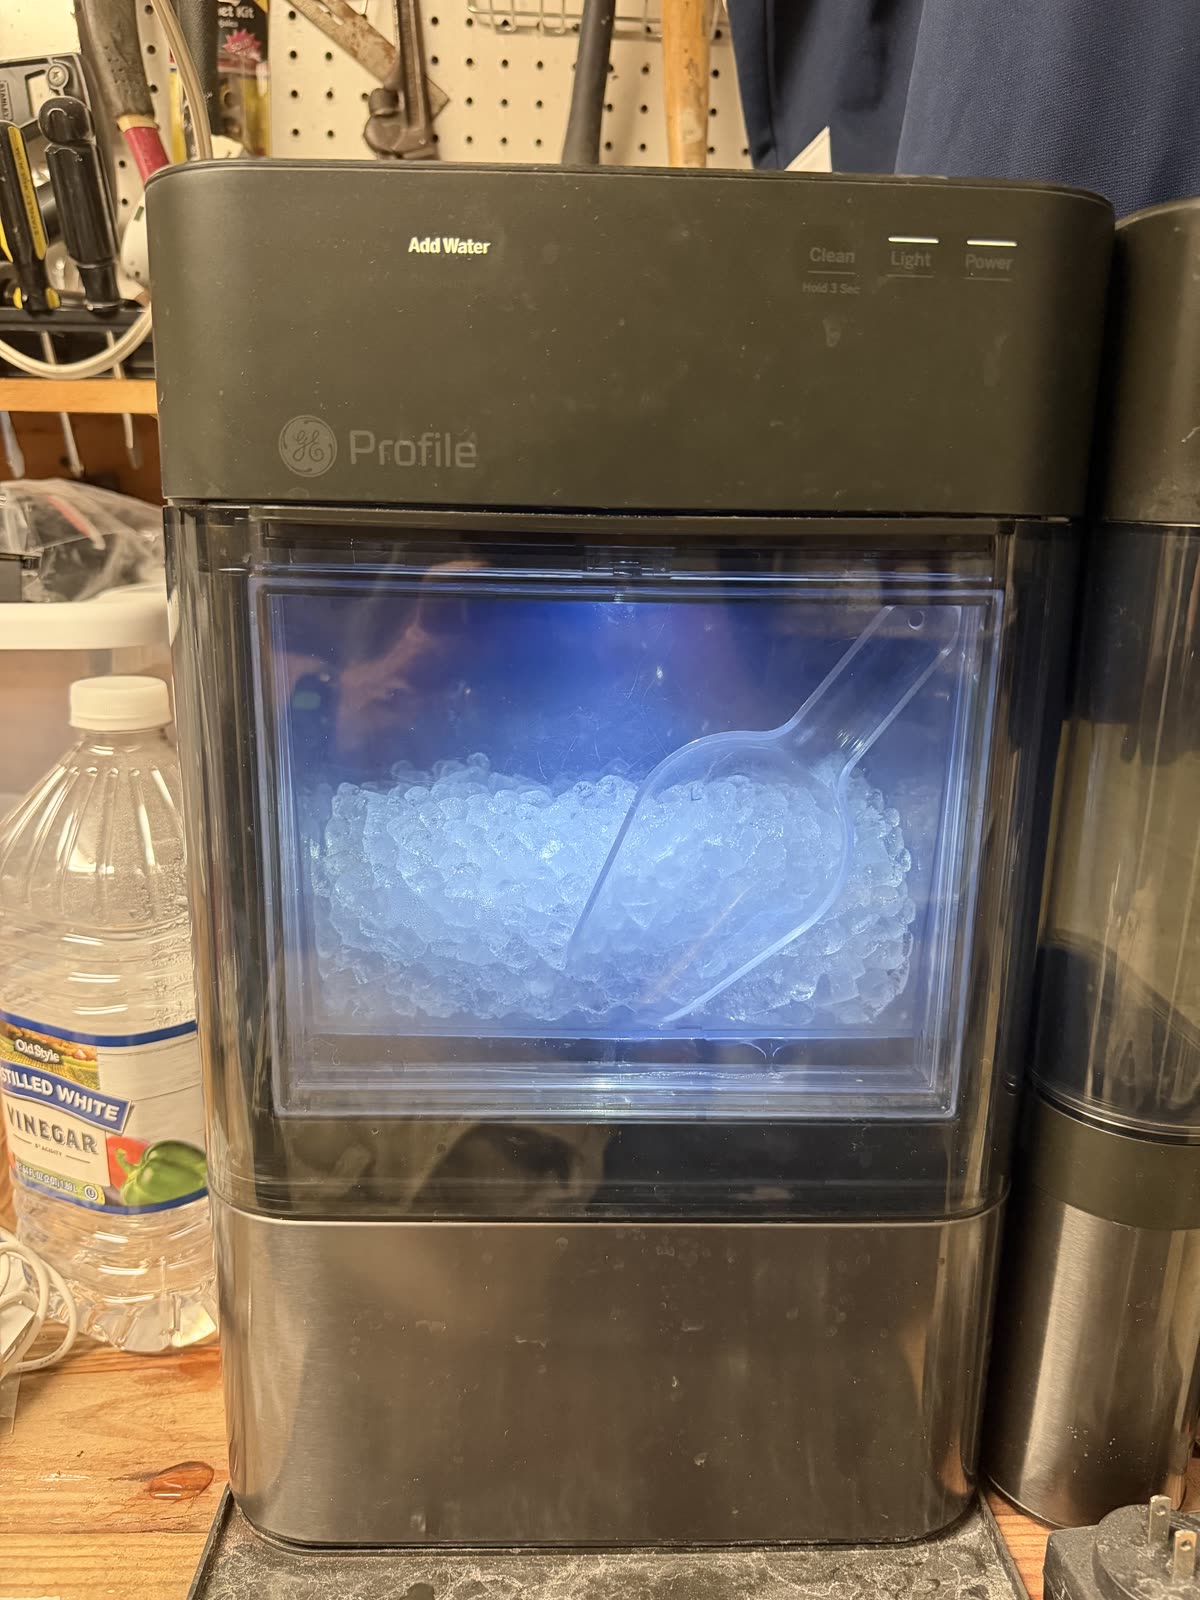
The machine this guide is about. And if yours is truly beyond saving, the ice really is worth a second chance.
Price as of Jul 2, 2026 · As an Amazon Associate I earn from qualifying purchases.
Add Water light with a full reservoir I did this
The signature Opal failure: the reservoir is visibly full, but the machine insists it needs water. It runs for a few minutes and stops, and refilling changes nothing. It happens even with distilled water. And the pump can sound perfectly healthy the whole time; mine did.
This is the saga my own machine put me through, so most of this section is first-hand. Roughly in order of effort:
- Prime the pump manually. I did this Remove the screen/filter at the bottom of the reservoir. While the pump is running, briefly cover the intake hole with a finger, then release. Repeat until water circulates. This was my first move too.
- Remove or replace the inline water filter. I did this The blue filter can restrict flow enough to starve the pump. I replaced mine; if you run distilled water, many owners skip the filter entirely and use the factory screen instead.
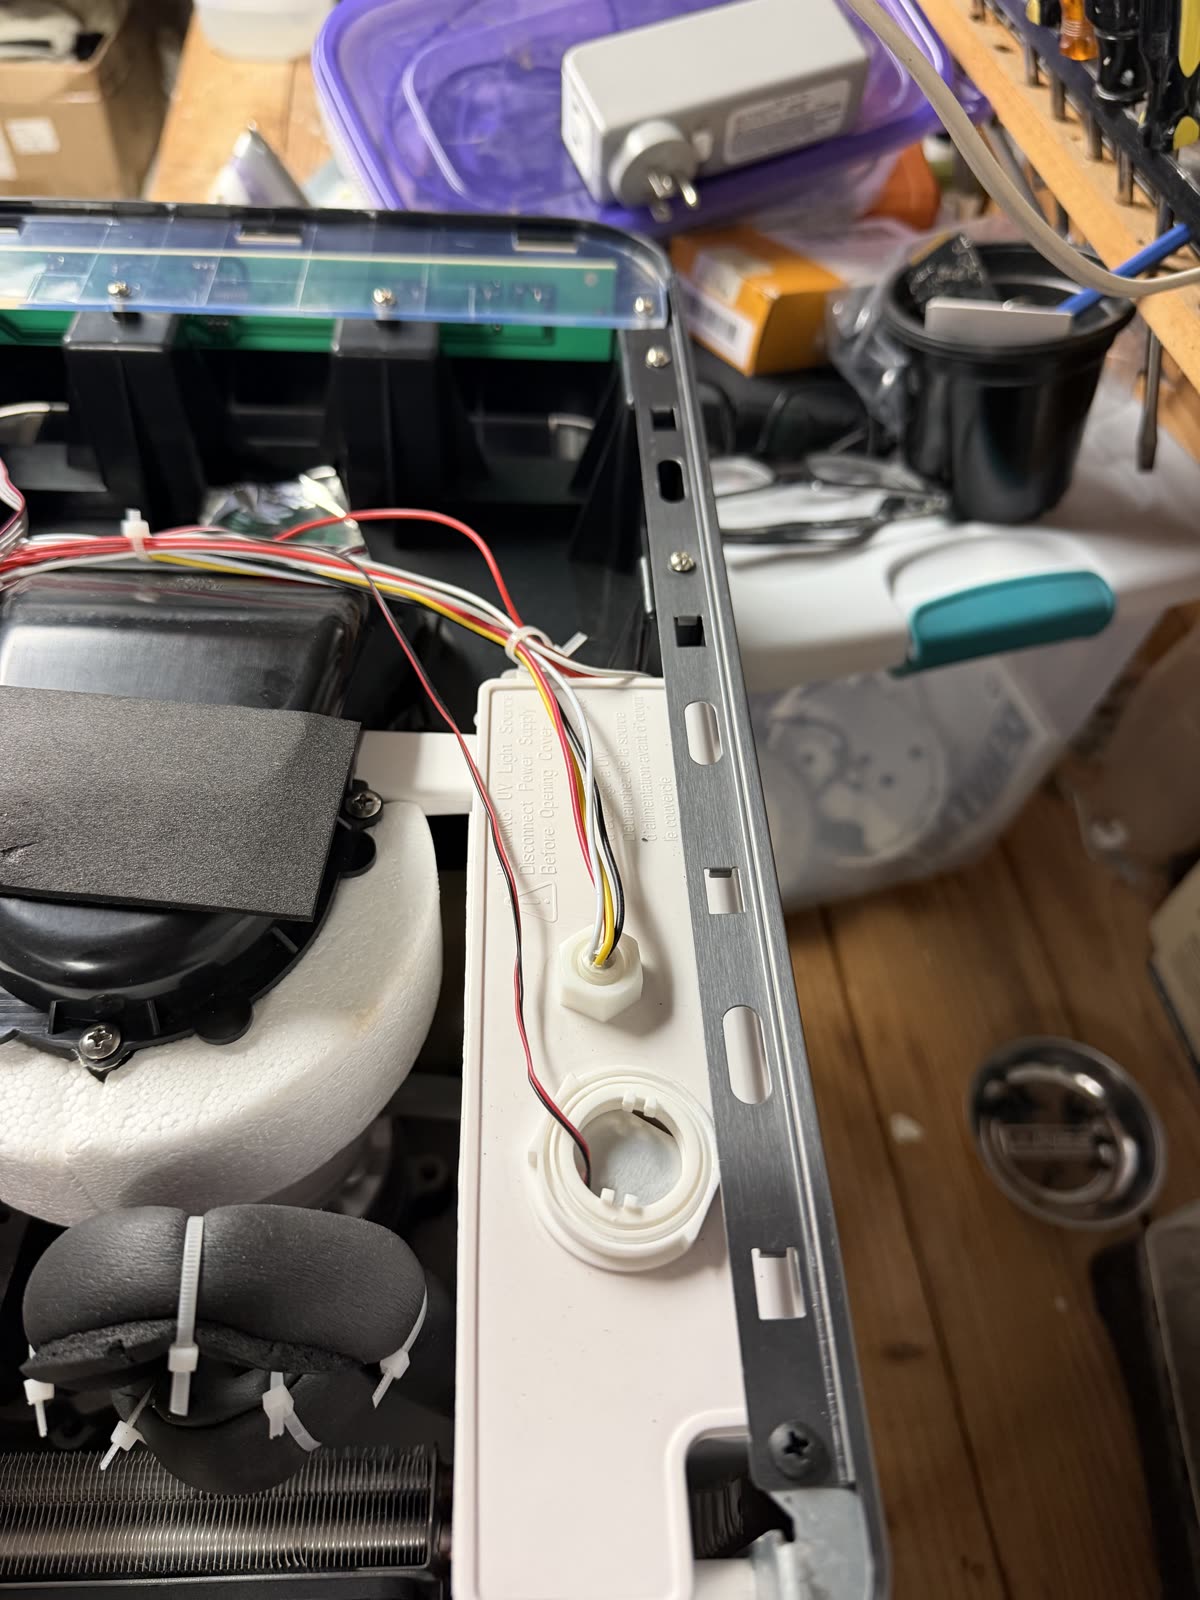
- Clean the internal upper reservoir and floats. I did this Unplug, remove the back plate and top cover (careful: a connector may be attached), open the upper reservoir, and exercise the floats so they move freely. Some float pieces are directional and marked “TOP”; reinstalling one upside down perpetuates the error.
- Replace the water pump. I did this The fix that finally ended it on mine. My symptoms: the machine would run without making ice, or start making ice and then throw the Add Water light. The water seemed to be flowing well enough, and the pump seemed good. I was wrong on both counts; I replaced it and the machine has worked perfectly since. The owner-reported tells: weak suction, repeated need to prime, filter removal helps only temporarily, small or misshapen ice, and an Add Water light that keeps coming back. Some replacement pumps plug in; others require splicing. Take disassembly photos and put paper towels under the hoses before you open anything.
- Replace the float sensor / reservoir float assembly. Owner-reported Indicated when the upper reservoir fills but the board doesn’t recognize it. Owners have swapped the whole assembly from a parted-out Opal. Skip the sensor-bypass wiring hacks that float around the forums; not worth it on a machine that makes food.

The pump that fixed mine. It's listed for the Opal 2.0; check fit for your generation before ordering.
Price as of Jul 2, 2026 · As an Amazon Associate I earn from qualifying purchases.
Slow ice, low production, “it used to make more” Owner-reported
Production drops after 6–12 months, the machine runs constantly, ice comes out slushy, the case runs hot. This cluster is almost always heat and scale, not a failing compressor:
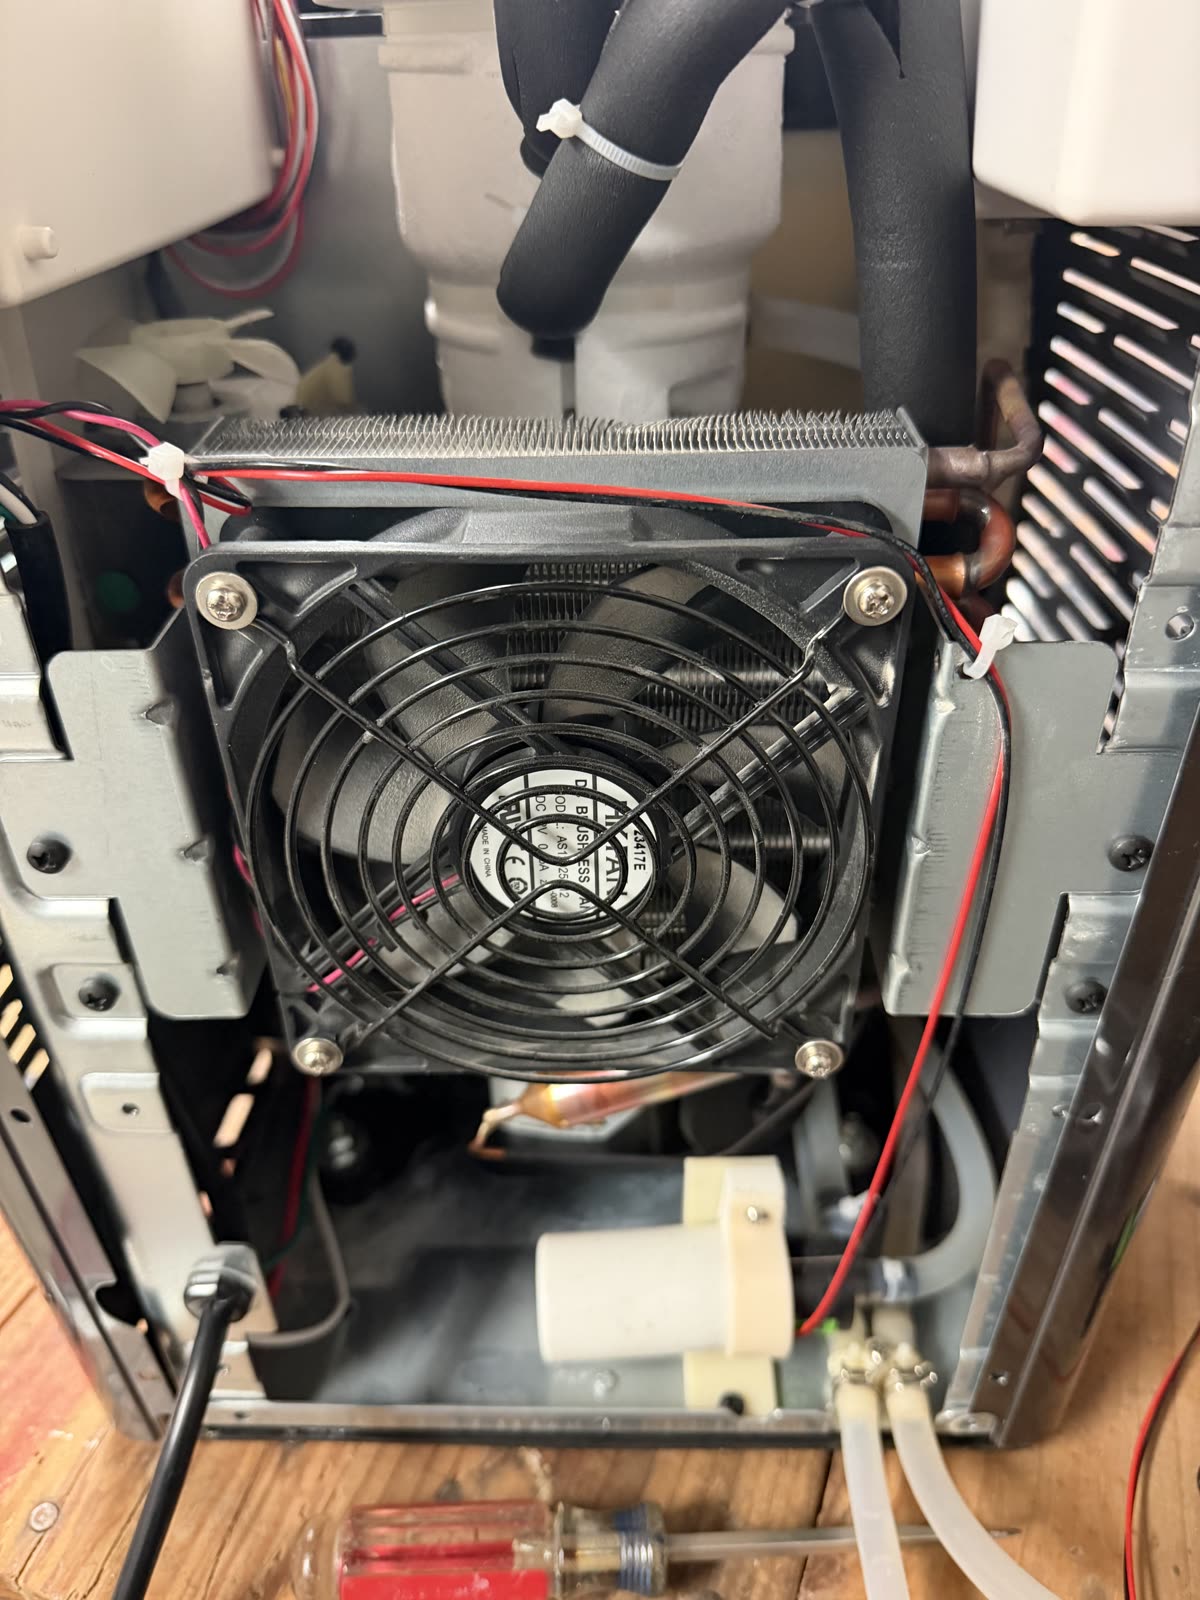
- Vacuum the vents and condenser coils. Unplug, pull the machine out, and clean the side/rear intakes. If you’re comfortable opening the cover, clean the condenser fins gently.
- Give it 3 inches of clearance on the sides and back, and pull the side tank forward so it isn’t blocking a vent.
- Add a small desk fan blowing into the side intake. The most-repeated cheap fix in the owners’ group; many report immediate improvement. If the fan solves it, the internal fan is the suspect: replace it or keep the desk fan.
- Clean the ice-bin-full sensors near the top of the chute with vinegar on a swab, then wipe with water.
Constant defrost mode Owner-reported
Machine makes ice briefly, then drops into defrost, sometimes within days of unboxing. Owners trace this to the same airflow story as slow ice: blocked vents, dirty condenser, or a failed condenser fan. Work the airflow fixes above first. If defrost episodes come with squealing or the auger turning inconsistently once ice forms, move to the drivetrain section below.
Screeching and squealing Owner-reported
Loud screech, comes and goes, ice production stops when it starts. Descaling helps for a few weeks, then it returns. The usual chain:
- Descale thoroughly with vinegar or Opal cleaner, and let it soak longer than the instructions say, especially the chute area.
- If normal descaling keeps failing, disassemble and clean manually, with long straw brushes through the lines.
- Replace and grease the plastic bushing in the extruder (food-safe grease only). This worn bushing is the most-cited root cause when descaling stops working.
- If the reservoir is running empty (pump/float problem), fix that first; a dry auger squeals.
- If none of that holds, inspect the gearbox.
Leaks Owner-reported
Bottom-front leaks, side-tank leaks, drain-tube leaks. Check in order: visible damage to tank and hoses, hairline cracks in drain tubes, and the O-ring around the chute/auger cap (clean it, then lube with food-safe lubricant). Heavy calcium deposits can hold seals open, so a deep descale is part of the leak fix, not a separate chore.
Black residue, slime, and bad taste Official guidance
GE says black residue can be mineral buildup even with filtered water, and recommends monthly vinegar descaling, weekly cleaning with a bleach solution, and distilled water if possible. GE’s cleaning recipe: 5 cups of hot water (100–120°F) with 1 teaspoon of household bleach; no soap in the reservoir; for descaling, hot white vinegar to the max fill line, up to 3 cleaning cycles, then an 18-hour soak; finish with 3 fresh-water rinse cycles.
When that isn’t enough (and owners report it often isn’t), the community deep clean Owner-reported goes further: unplug, remove bin, tank, and panels; scrub the internal reservoir manually with diluted bleach; run long straw brushes through every tube including the side-tank hose; then run a bleach cycle, rinse repeatedly, and descale separately if mineral deposits remain.
Water not flowing from the side tank Official guidance
Make sure the side-tank tube lies flat, reseat the tank on its base, pull it forward off the vent, and check for trapped air. Test the machine without the side tank to isolate whether the problem is the tank/tube or the internal pump and sensors.
Turns off after a few minutes, or starts on its own Owner-reported
Before any repair: check the SmartHQ app schedule (it checks hourly and will shut the machine off), push the bin fully into place, and power-cycle. An Opal that quits after about 5 minutes very often just has a bin that isn’t seated.
The escalation ladder
Work top to bottom. Most machines never need the bottom two rungs.
- Refill the reservoir; confirm the machine is not in Cleaning or Defrost mode
- Disable any SmartHQ schedule
- Reseat the ice bin fully
- Pull the machine out for 3 inches of clearance; move the side tank off the vent
- Unplug for a minute and replug
- Remove the inline filter (use the screen if running distilled water)
- Prime the pump by covering the intake 10–15 seconds
- Check the side-tank tube for bubbles and kinks
- Run a clean cycle, then descale with vinegar or Opal cleaner
- Clean the chute and bin sensors with vinegar on a swab
- Vacuum the side and rear vents
- Clean the condenser fins if accessible
- Add a small desk fan blowing into the intake; if this fixes it, the internal fan is the suspect
- Open the top/back; clean the internal upper reservoir
- Exercise the floats and verify they are oriented correctly ("TOP" markings)
- Brush out the tubing; check for cracked hoses and drain tubes
- Replace the water pump (the fix mine needed)
- Replace the float sensor / reservoir float assembly
- Replace or grease the extruder bushing (food-safe grease only)
- Inspect or replace the gearbox/auger assembly
The bottom line
If I had to compress every owner thread into one list: prime the pump when a full reservoir still says Add Water; ditch the restrictive filter if you’re on distilled; replace the pump when priming keeps coming back; vacuum the coils and add a fan for slow ice and defrost loops; deep-clean the hidden reservoir for sludge and taste; and look at the extruder bushing the moment descaling stops curing a squeal.
The pump replacement that fixed mine will get its own full entry, with photos and part numbers, soon.